How To Create DIY Newborn Photos in 7 Easy Steps
Beginner DIY Newborn Photography: Use Your Phone, A DSLR or A Mirrorless Camera.
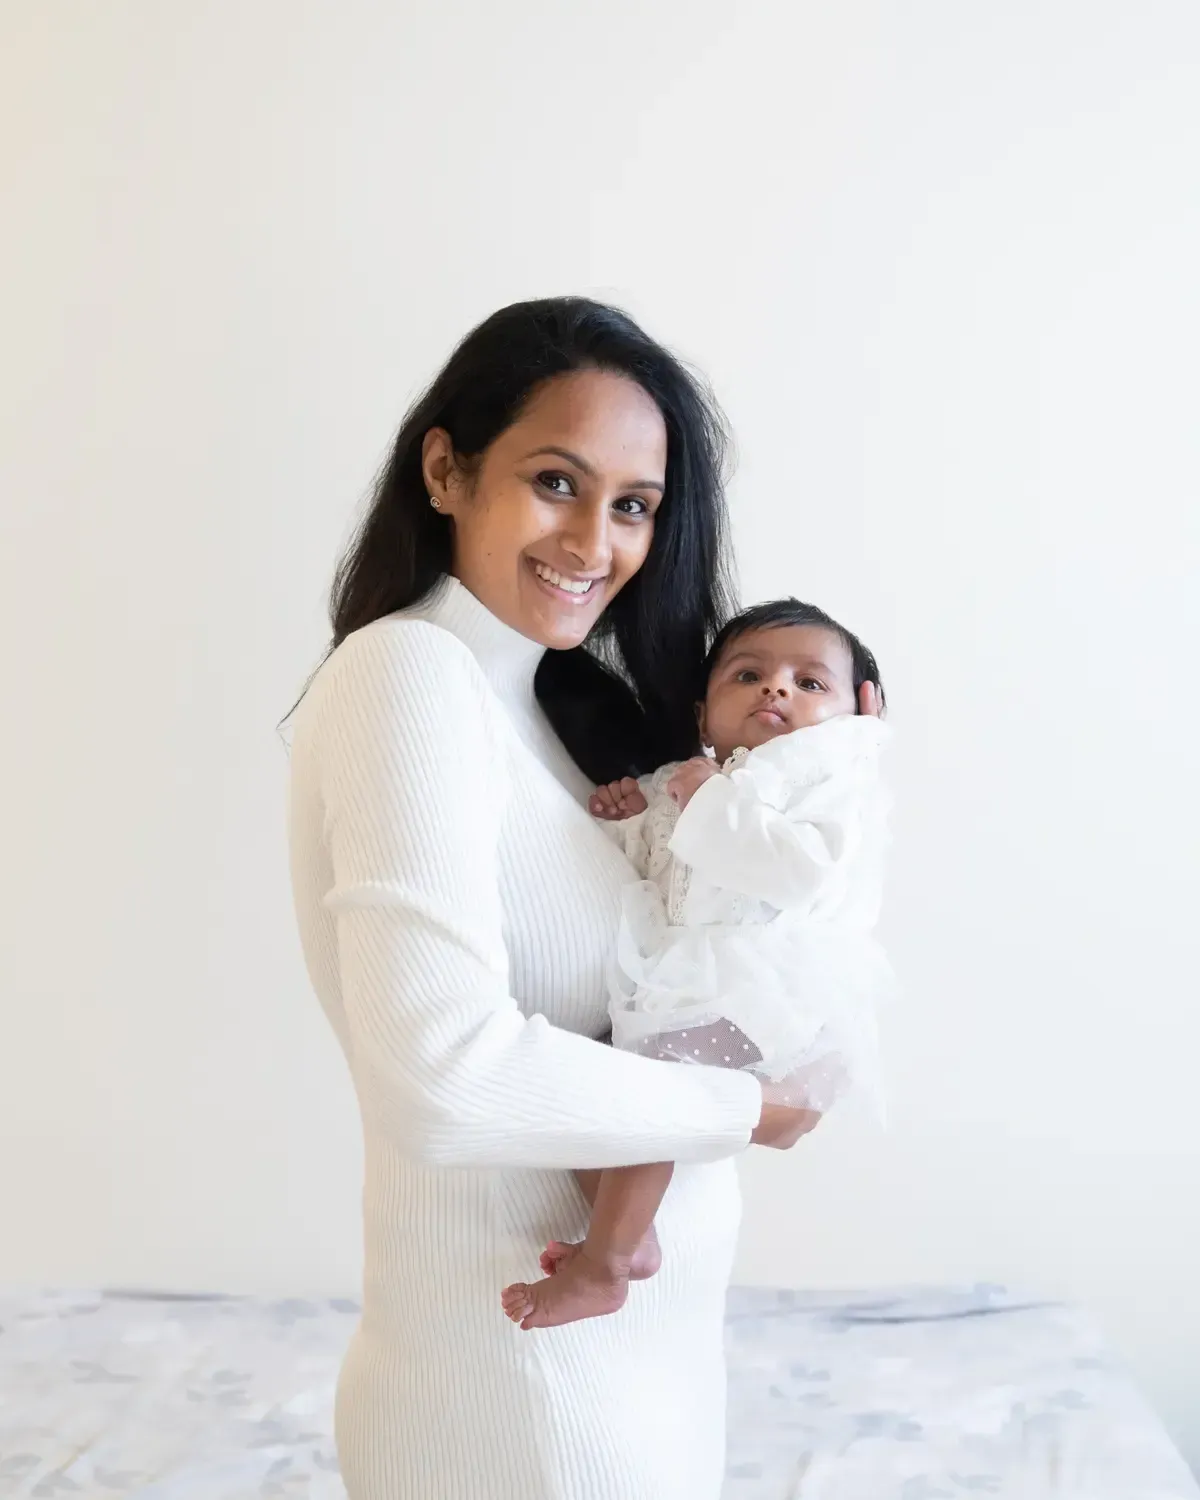
You want amazing DIY newborn photos. I am here to show you how you can in 7 easy steps.
My name is Katie and I am a certified professional pregnancy and newborn photographer with 10 years experience.
Here are the 7 easy steps to teach yourself how to get great DIY newborn photos of your precious Little without spending money you don't have. And, you can be a total beginner! That is fine too.
Before We Get Started: Safety
Newborn safety is the most important. If you are a mom doing your own photos, this is probably already a done deal. But in newborn photography, there are a few things you may not be aware of:
Temperature: if your baby is wrapped up, or in a onesie and then wrapped over that, be sure to check for overheating. If your baby is breathing differently than normal, or their skin has blotchy red patches, damp hair or is warm to the touch, these can indicate your baby is too hot. On the other hand, if you are taking photos of your baby without clothes, be sure you have a space heater nearby at around 70 degrees.
Be sure there is a spotter nearby at all times. You may think you are ok alone, but when you are trying to get photos, you can miss the baby starting to roll, or shift position. The startle reflex happens fast. So, have a second person very close to the baby at all times.
Props: It may be obvious, but avoid props that are glass or metal. Be sure to have thick soft blankets in and over your basket or bucket, and small hand towels to stuff at the bottom of them to support the baby as needed.
Step 1
Pick Your Camera or Phone - Your Powerful Tools
These days, camera phones can take some amazing photos. While you may not have the ability to use professional strobes or flashes with them, that’s OK. In general, the main thing you need to do is:
- Know how to put the phone in portrait mode, know how to use the zoom feature for details shots.
- Turn off the flash on your camera phone
I recommend turning off the flash because it provides very harsh light that is not flattering to anyone, generally. For your newborn, you want to use either available light, or continuous light when using your camera phone.
If you have a DSLR or mirrorless camera, know that it is OK to use AUTO Mode. You just had a baby and have enough on your plate. AUTO mode will get you good images. Your job will be to pose and shoot from interesting angles. You can let the camera do the rest.
If you know enough about your DSLR or mirrorless camera to use Av Mode, (Aperture Priority), then you can use f2.8 or f3.5 for just the baby, and f5.6 for mom and baby, and f8 or f11 for larger groups of family. You do have to be careful to check to be sure everything is in focus when you are using these different F stops. If you do not have a lens that goes to 2.8, you can use f4 for the baby and it will be fine.
On your DSLR, you can always control something called ISO. This controls how sensitive the camera is to light. So if you need more light, move the ISO from 100 to 200. If you still need more, go to 400 etc. Try to keep it no more than 800 ISO if you can so that your images are not grainy.
Embrace the power at your fingertips, whether it's the latest DSLR or the smartphone you rely on daily. Both are formidable allies in your quest to immortalize your newborn's earliest days. Dive into the heart of your chosen device, mastering its capabilities through relentless exploration and persistent practice. It's the vision you bring to each frame, the love infused into every click that truly transforms a simple picture into a heart-stirring memory.
Let your passion guide you, and trust in the tools you have to bring your baby's first chapters to life with brilliance and tenderness.
The magic isn't in the price tag of your equipment but in what you do with it. As I said, the details matter a lot. Outfits, what parents are wearing, the look of the room you are in etc. If you are not sure how to dress for your homemade newborn photos, read What To Wear For Your Family Photoshoot
Step 2
DIY Newborn Pictures: Natural or Continuous Lighting
Obviously, you need light to take newborn photos at home. Every beam, every shadow holds the potential to sculpt stories in your imagery. Dive headfirst into the luminous world around your little one, starting with the soft embrace of natural light. It bathes your scenes in a glow that's both gentle and forgiving, ideal for capturing the innocence of newborn skin.
Using Continuous Light
Continuous lighting is convenient because you do not need to depend on the weather. You also can take photos at any time and not have to worry about how much light is coming through your windows.
Continuous lighting stands are ready to fill your space with a steady stream of light, mimicking the sun’s tender touch, while strobes, armed with softboxes, offer precision in brightness, casting light exactly where it’s needed, sculpting dimensions and depth.
These days, you can get continuous light kits fairly inexpensively. If you do invest, I recommend this continuous lighting kit. You will be able to resell it back to Adorama if you like.
Using Natural Light
A lot of people say they like “natural light” better. But the truth is, a photon is a photon whether it comes from the sun or a man made source. What most people mean when they say they like natural light, is that they like the color (or lack thereof). Natural light is about 5500 Kelvin.
You do not need to know this fact to take good photos. Place your baby as close to a window as you can. Hang white sheers in the window to soften the light. Place a white sheet or white poster board opposite the window to bounce light back on to the baby or subjects. This way the shadows will be less harsh.
It's your resolve, your willingness to experiment and adapt, that will illuminate your baby’s earliest days in the most radiant light. The journey through light is not just about illumination; it's about discovering how each ray, each shade, can define the tender narratives you wish to tell.
Step 3
Modifiers and Reflectors For Easy DIY Homemade Newborn Pictures
Armed with your light source, it's time to wield the sculptor's tools of the trade: modifiers and reflectors.
A modifier is something like a softbox or an umbrella that came with your continuous light kit.
A reflector can be a store bought one, or a piece of white poster board, a white sheet, a white towel.
What you need to do is bounce light back onto the baby or your subjects. It does not have to be fancy. If you have a choice, use white paper posterboard. This will bounce more light than a white towel will.
A well-placed reflector can turn a shadow into a soft caress on your baby’s face, revealing every adorable detail. In general, baby photos are well lit. Too much shadow can hide the very details you are trying to remember. In general, you want to have a reflector opposite your light source for each shot. The closer the reflector is to the subject, the more light will bounce.
You may be limited to how close the reflector can be without being in the actual photo. Technically, you can edit out the reflector during editing, but that's a lot of work you do not need. So, I recommend avoiding having the reflector in the photo.
Experimentation is your best friend here. Play with angles, watch how light wraps differently around your baby, changing the mood, the story, each picture tells.
It's a journey of discovery, where each adjustment, each shift, brings you closer to capturing not just images, but the essence of your baby’s earliest days. Embrace this dance with light, and let the joy of creation be your guide.
Step 4
Remove Clutter and Stage Your Home
Dive into the realm of your home with the eyes of an artist, ready to mold your everyday spaces into a sanctuary of serenity and beauty for your newborn's photoshoot. This step isn't about erasing the traces of lived-in love; it's about simplifying the scene to let the focus shine brightly on your baby.
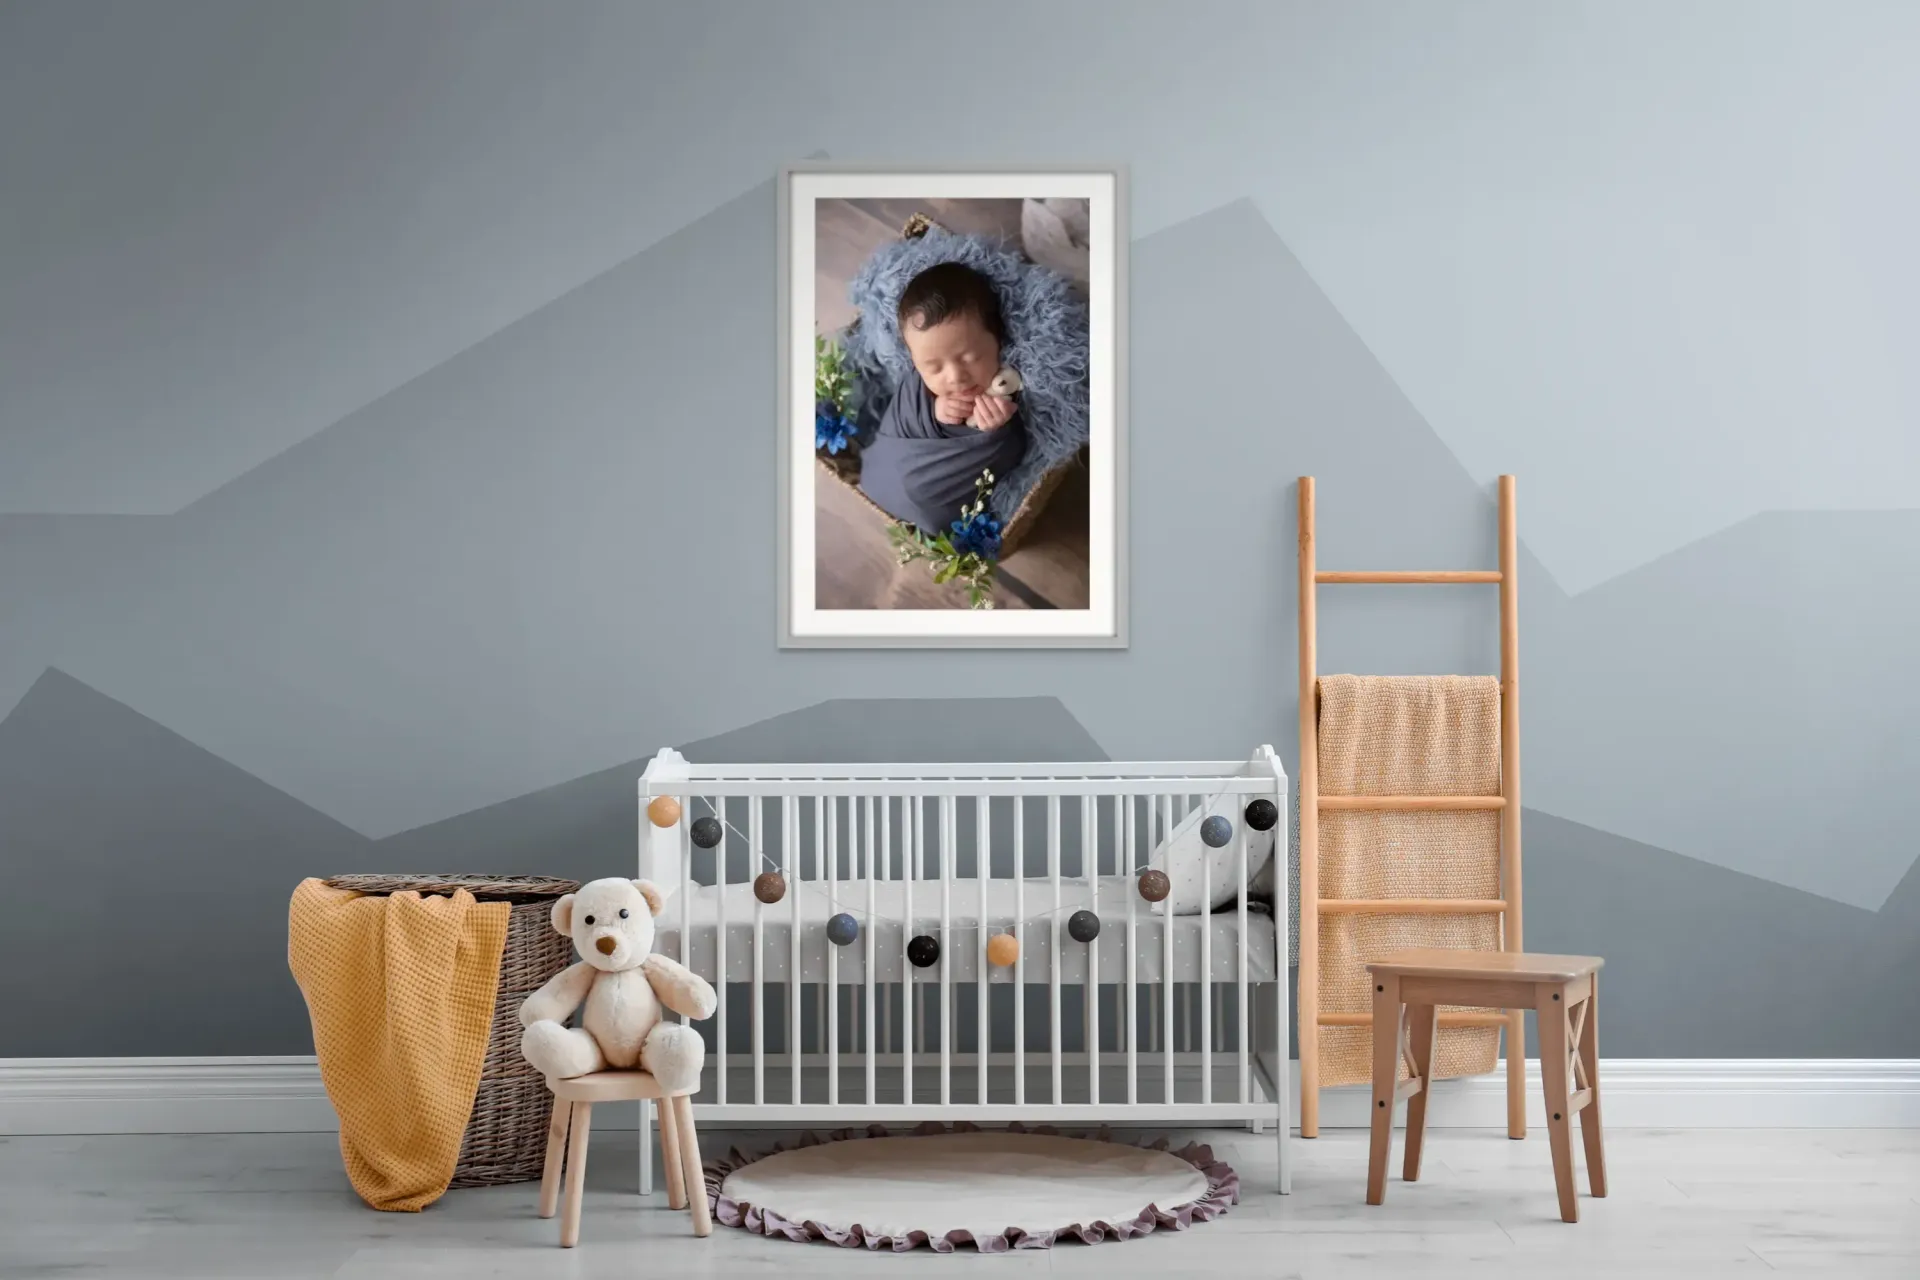
Be sure to take almost every item off the mantle. Nothing is more weird than a vace, or flowers, or a trophy sticking out of the back of everyone's head. If you are taking photos on your bed, opt to have a wrinkle free comforter for the session. Images will look better. Get new sheets and pillow cases, or really clean the ones you have. Get a steamer and steam out major wrinkles.
If you are taking photos against a wall, remove or rearrange wall art so that it looks nice to take a photo against.
Opt for a spot bathed in natural light, clear away the everyday distractions, and introduce elements that add texture and warmth without overwhelming. Many familes decide to buy a new comforter set for the bedroom as this is where most people learning how to take newborn photos at home work most. Take away clutter, things that will be distracting in the images. You don't need the Kleenex box, the remote control, the game controllers etc in your images.
Think of a soft, knitted blanket as a base or a simple, elegant chair that doesn’t steal the spotlight but rather complements the innocence of your subject. This is your chance to play with space, to turn the ordinary into the extraordinary.
It's not merely about decluttering; it’s about envisioning and creating a stage where every photograph captures a story, a feeling, a precious moment in time, making your baby the undisputed star of the narrative.
Step 5
Make Your Shot List
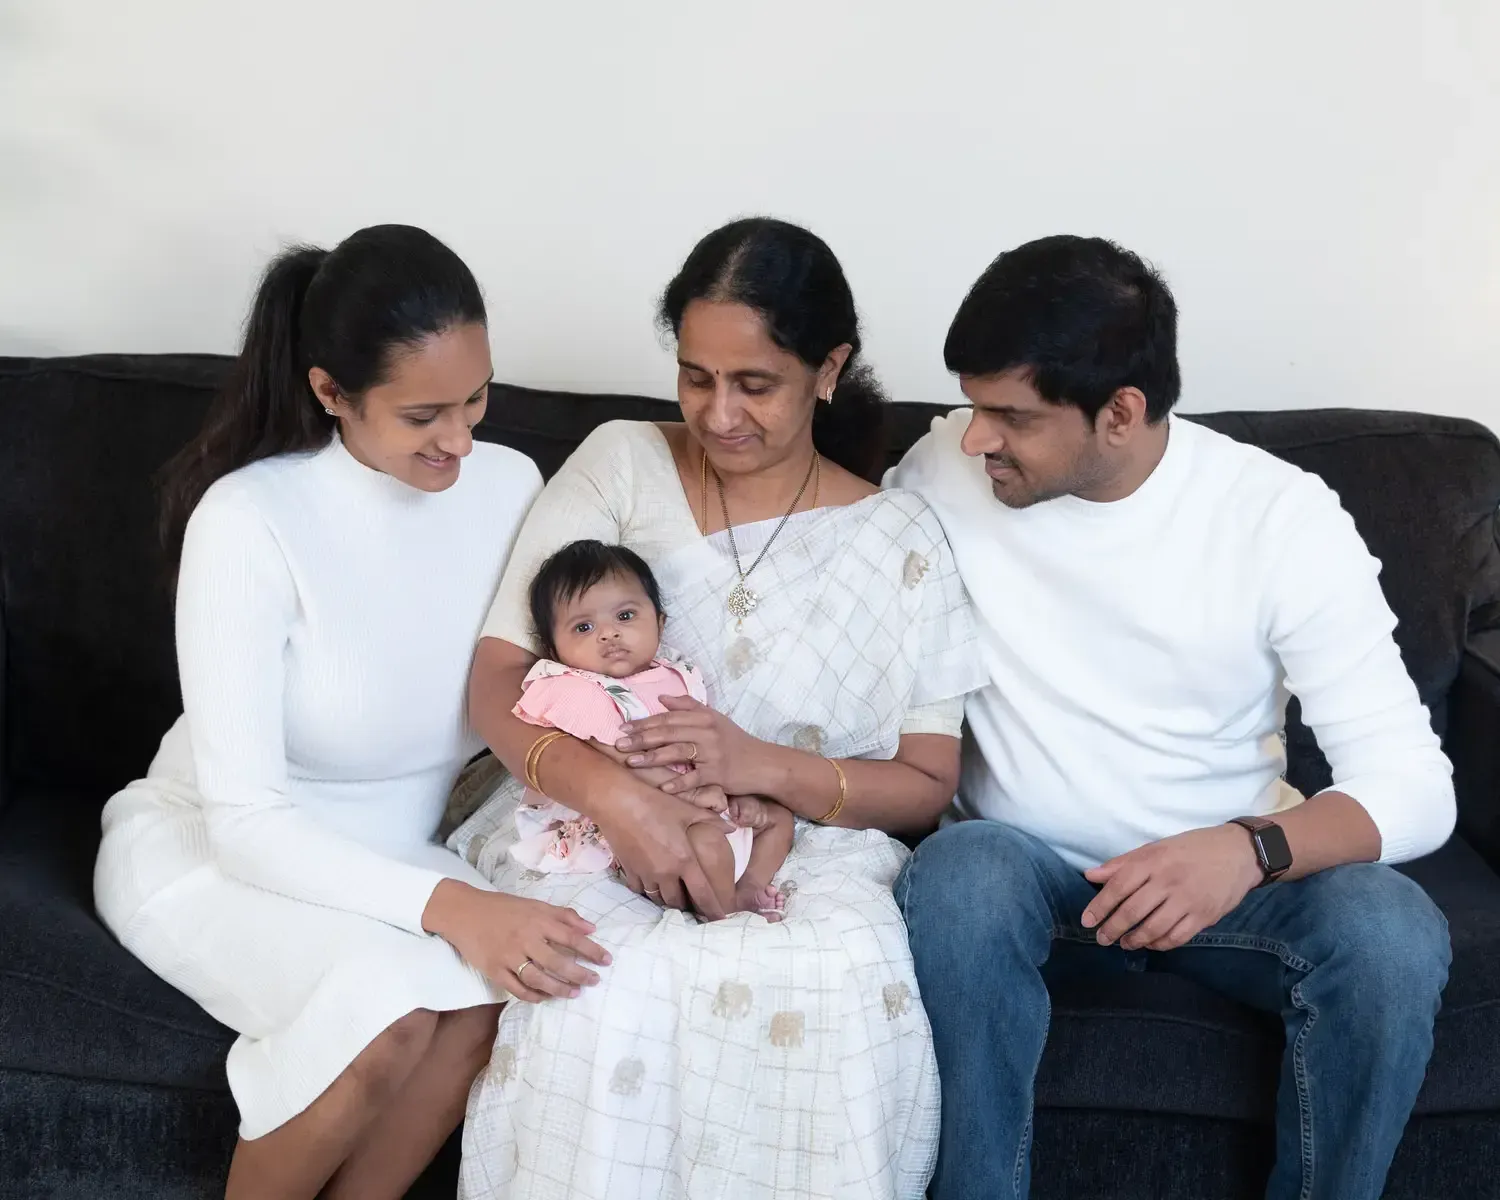
Make a list of the 10 most important images you want. I recommend the following as a starting point:
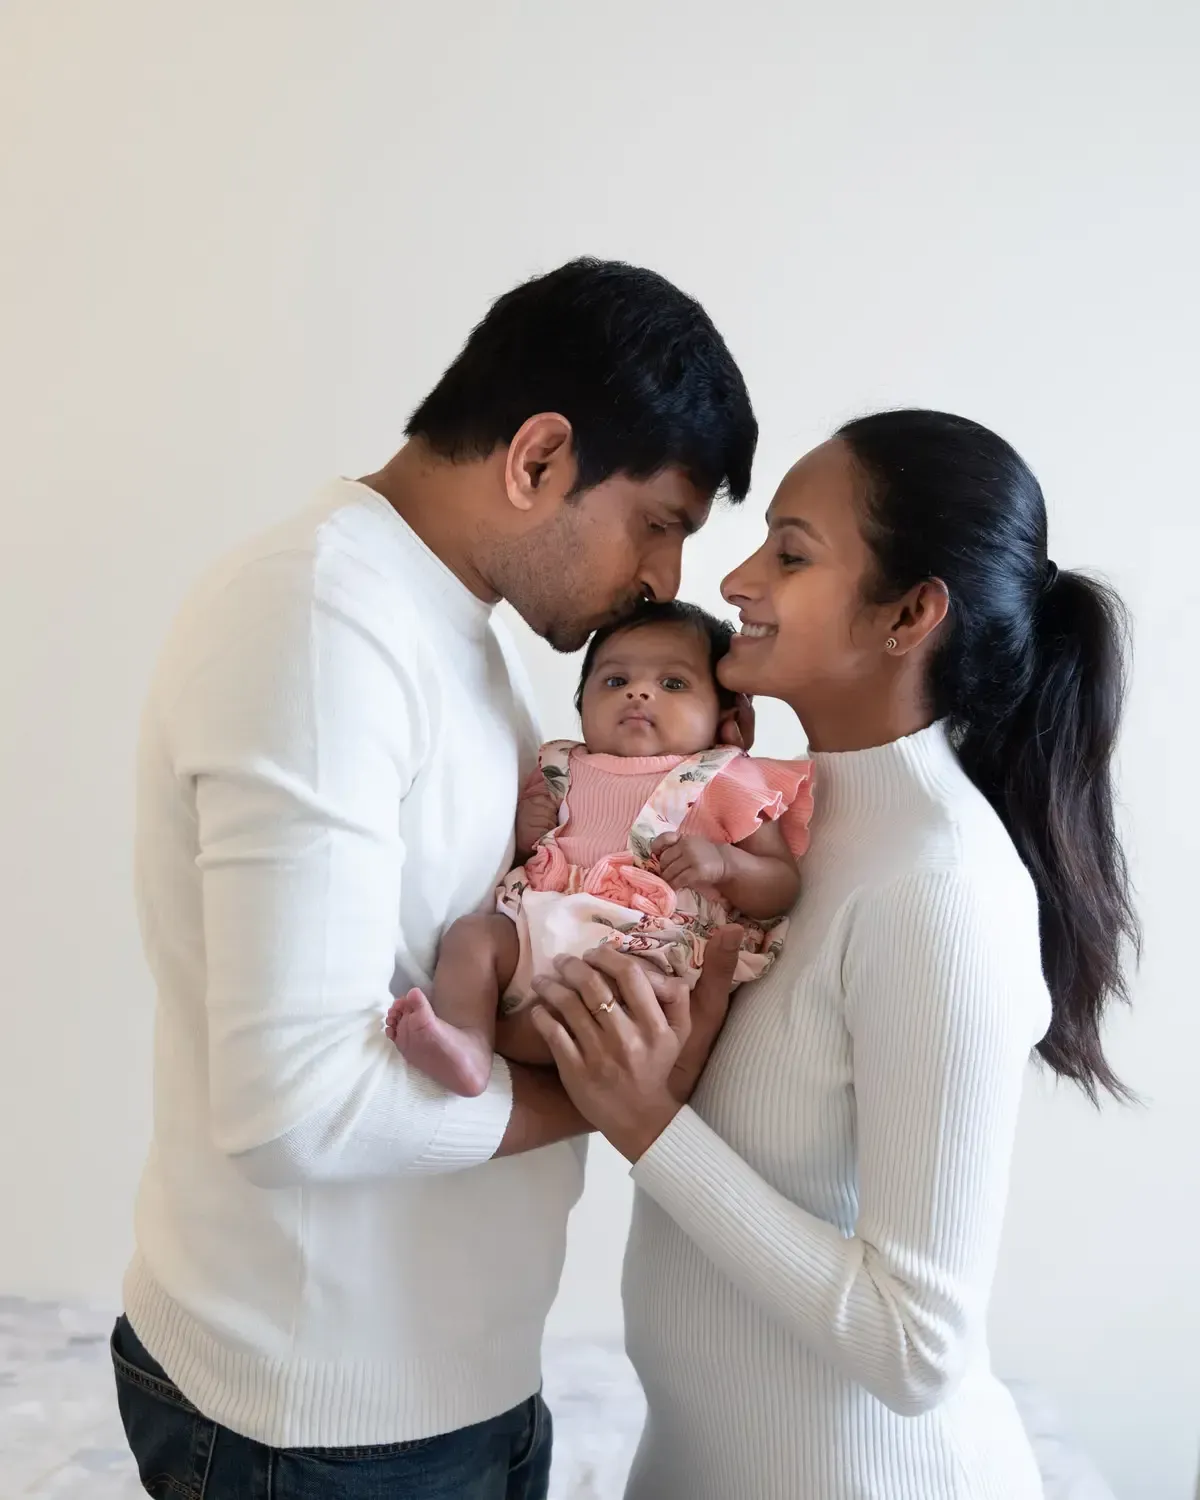
- Mom with baby (looking at baby, looking at camera, serious, smiling)
- Same as 1. with Dad.
- Same as 1 with mom and dad
- Mom's open palm with baby hand on top. Then Dad. Then Mom and Dad holding baby hand
- Baby in swaddled in bassinet.
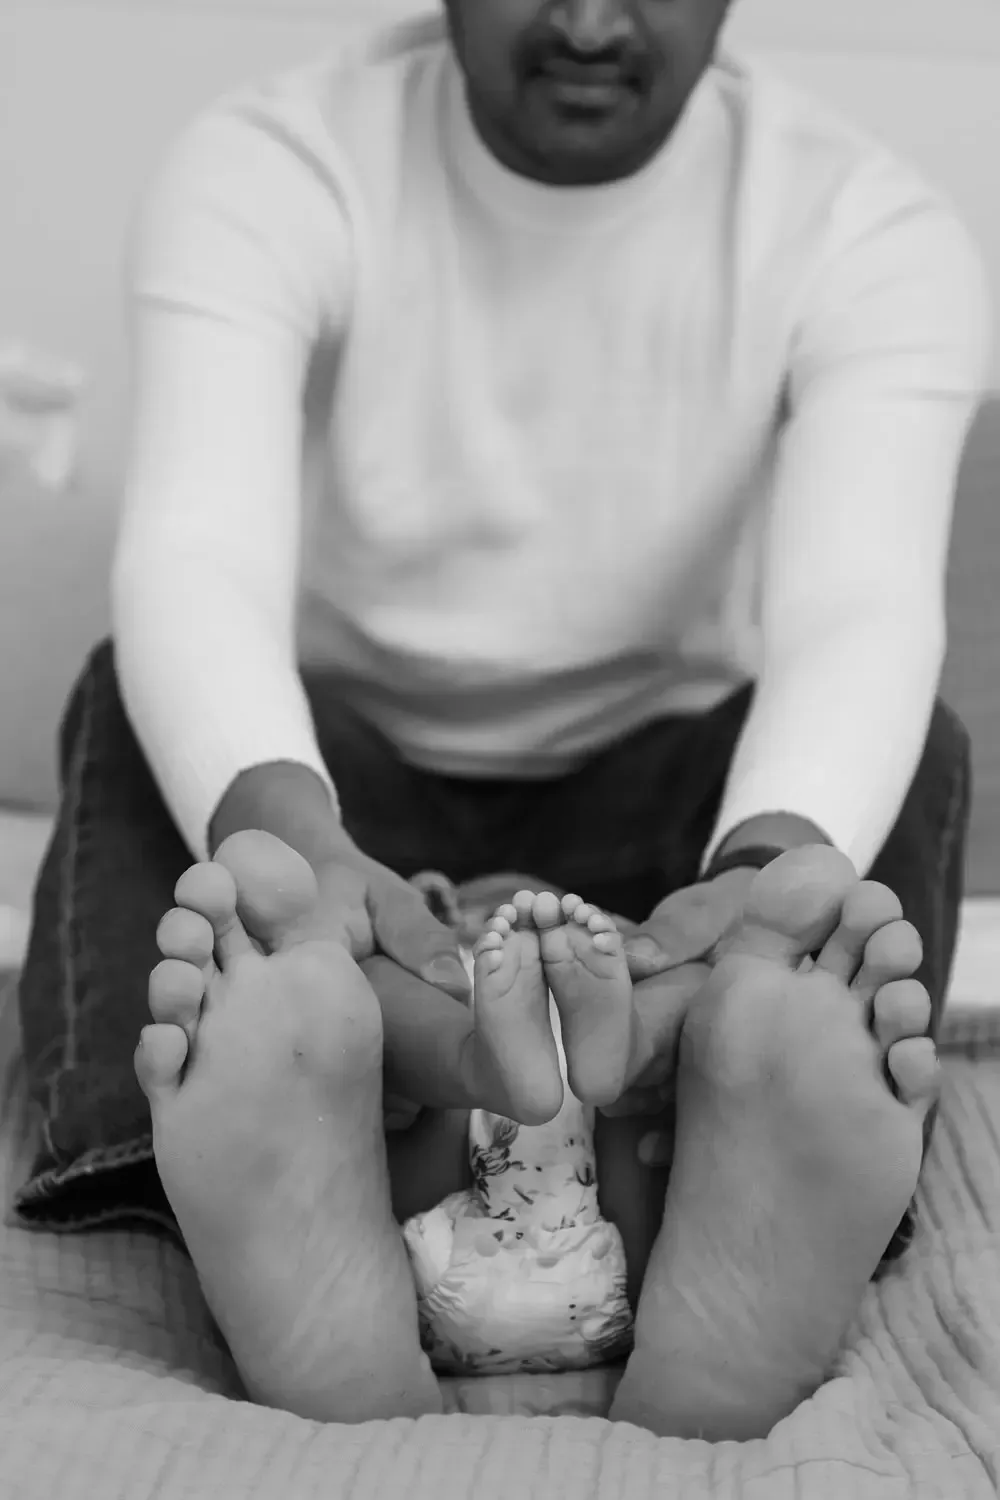
- Baby feet
- Baby eyelashes
- The little blister from feeding in the middle of their upper lip
- Baby hands holding a stuffie
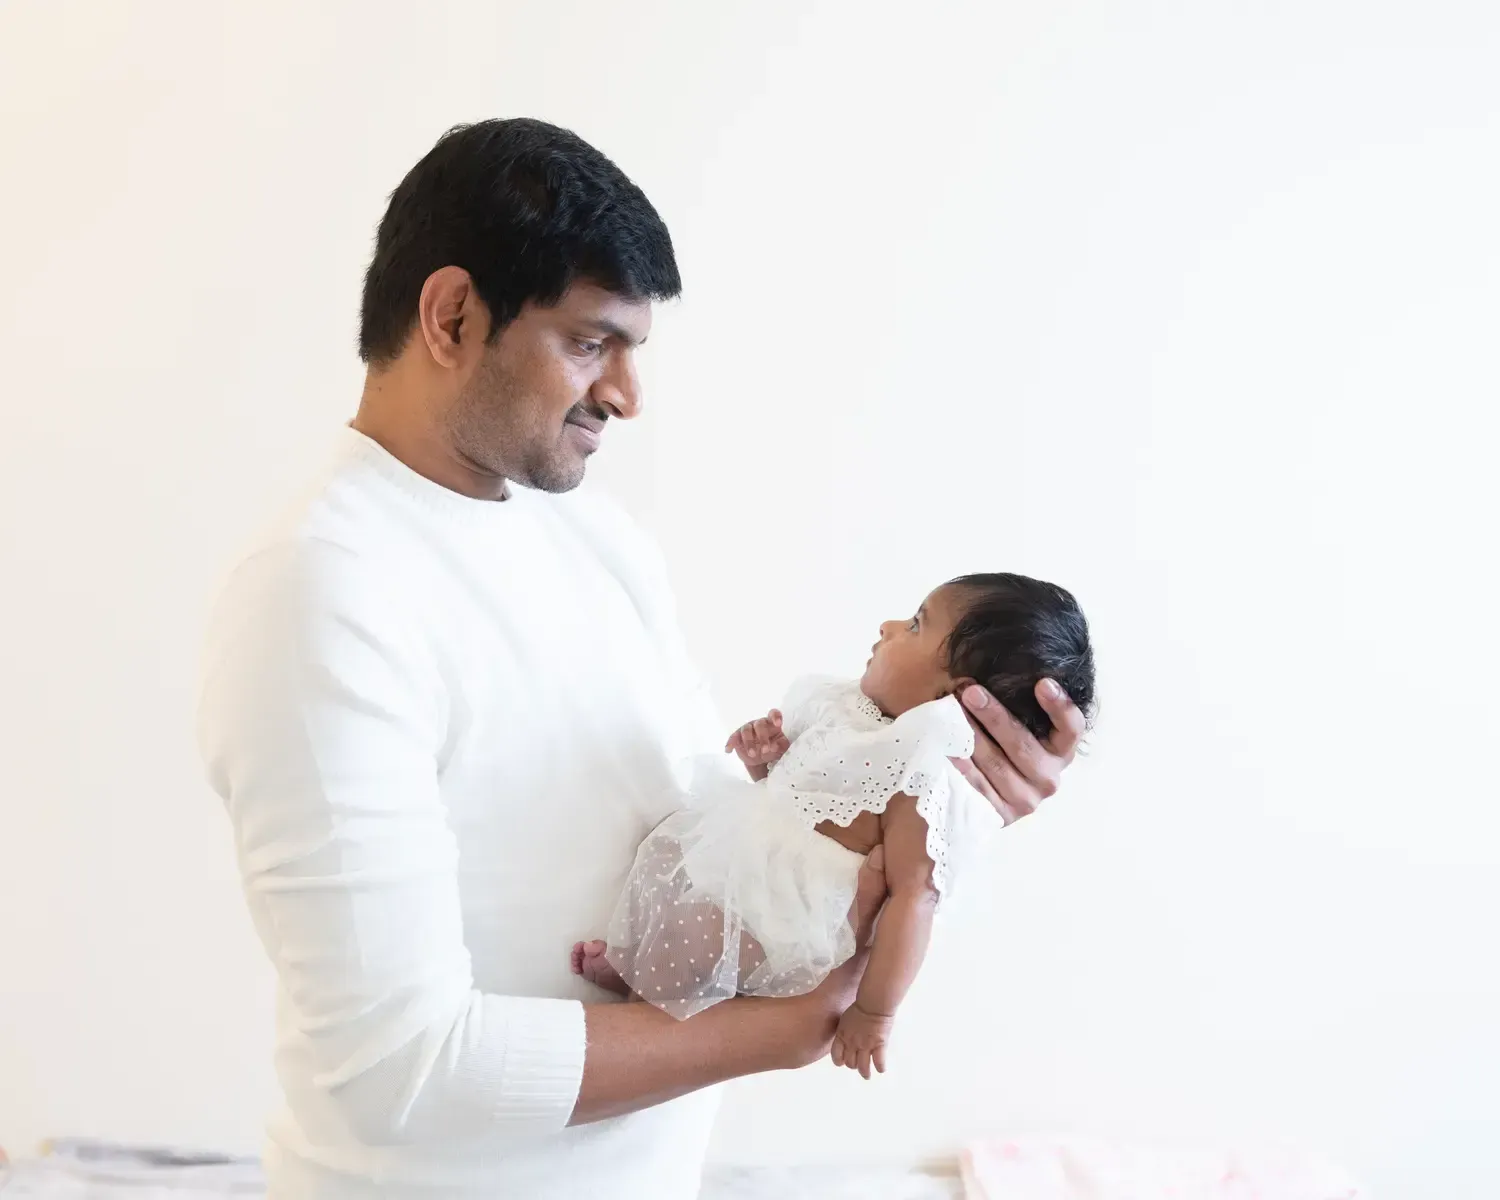
- Baby awake looking at camera close up (if you can)
This may seem silly, but once you get going, it is easy to get distracted with things. This is your strategy, your game plan, ensuring that no precious moment slips through the cracks. Envision a variety of scenes - from the grandeur of wide-angle shots that encapsulate the entirety of your stage to the intimate close-ups that reveal the fine lines of your newborn's smile. Incorporate interactive moments that capture the tender bonds between family members, creating a narrative that’s both rich and deeply personal.
Your shot list is more than a checklist; it's a commitment to capturing the full spectrum of emotions and details that this fleeting time holds. Remember, you are immortalizing your baby's earliest days.
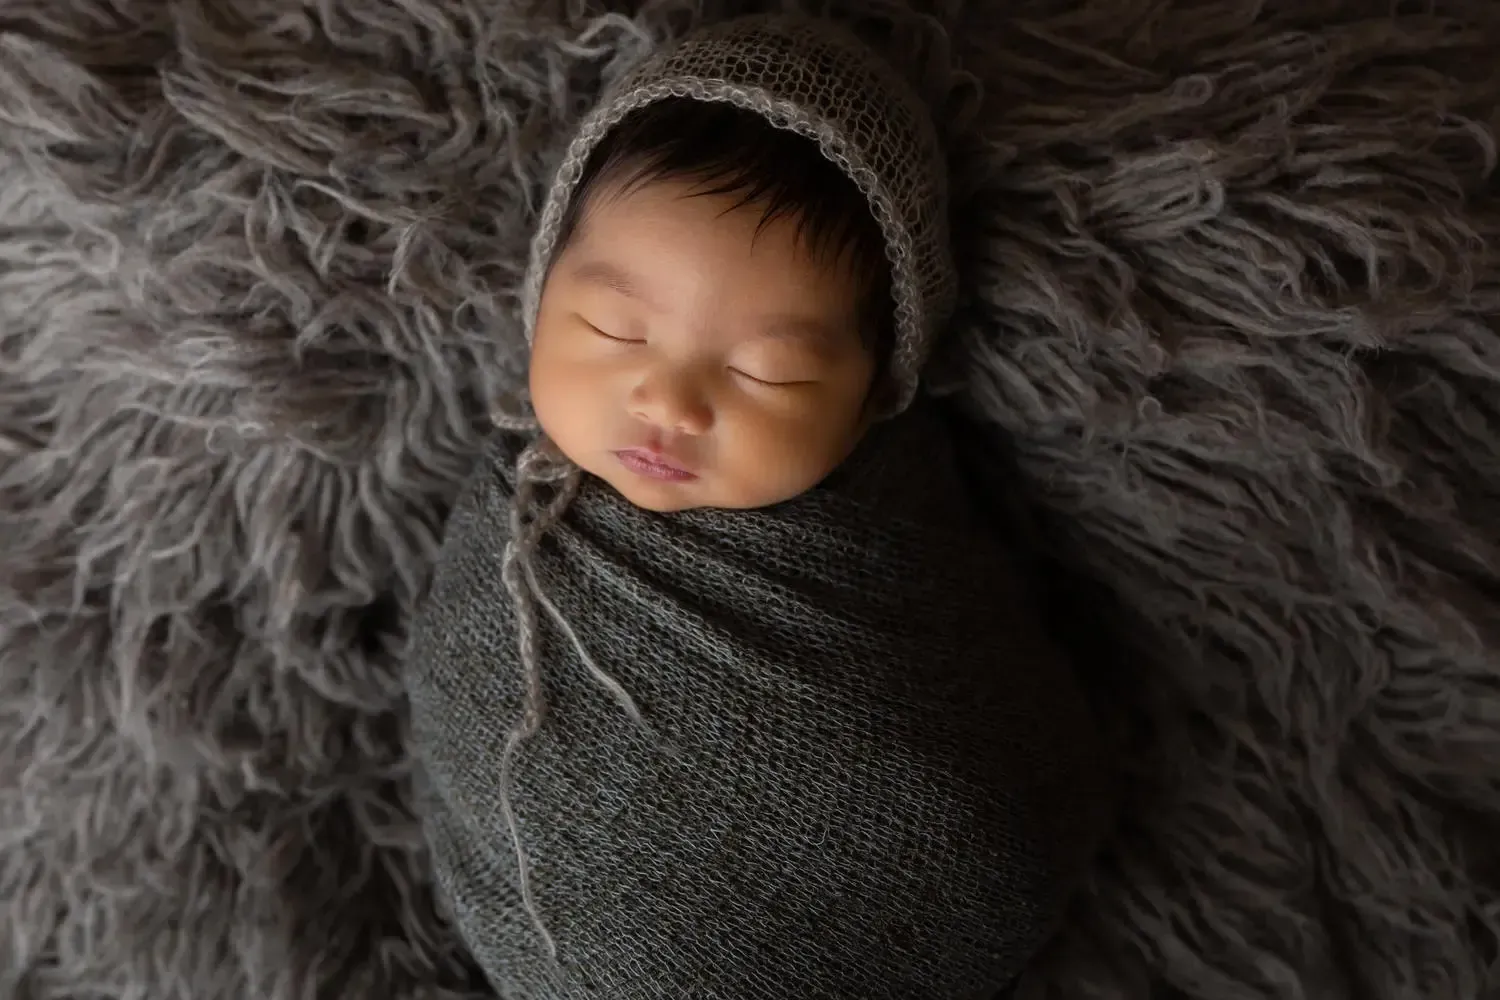
Detail Shots You Have To Get - The Devil is in the Details
Zero in with laser focus on those minute marvels that define your newborn's unique presence in this vast world. The crinkled feet, the spiral of soft hair atop their head, the delicate curve of their tiny ear - these are the snapshots that tell the profound story of new life in whispering volumes.
Embark on a quest to immortalize these fleeting intricacies, for they are the fleeting signatures of your baby's entry into your lives. Approach each detail with reverence and a steady hand, allowing your lens to caress these subtleties in a light that speaks of wonder and discovery. This endeavor to capture the minutiae isn’t just about photographing a subject; it's an intimate dialogue between you, your baby, and the infinite possibilities of love encapsulated in every frame. Remember, in the vast canvas of life, it's these delicate strokes that complete the masterpiece.
Step 6
How To DIY Newborn Photos-Poses, Props, and Angles
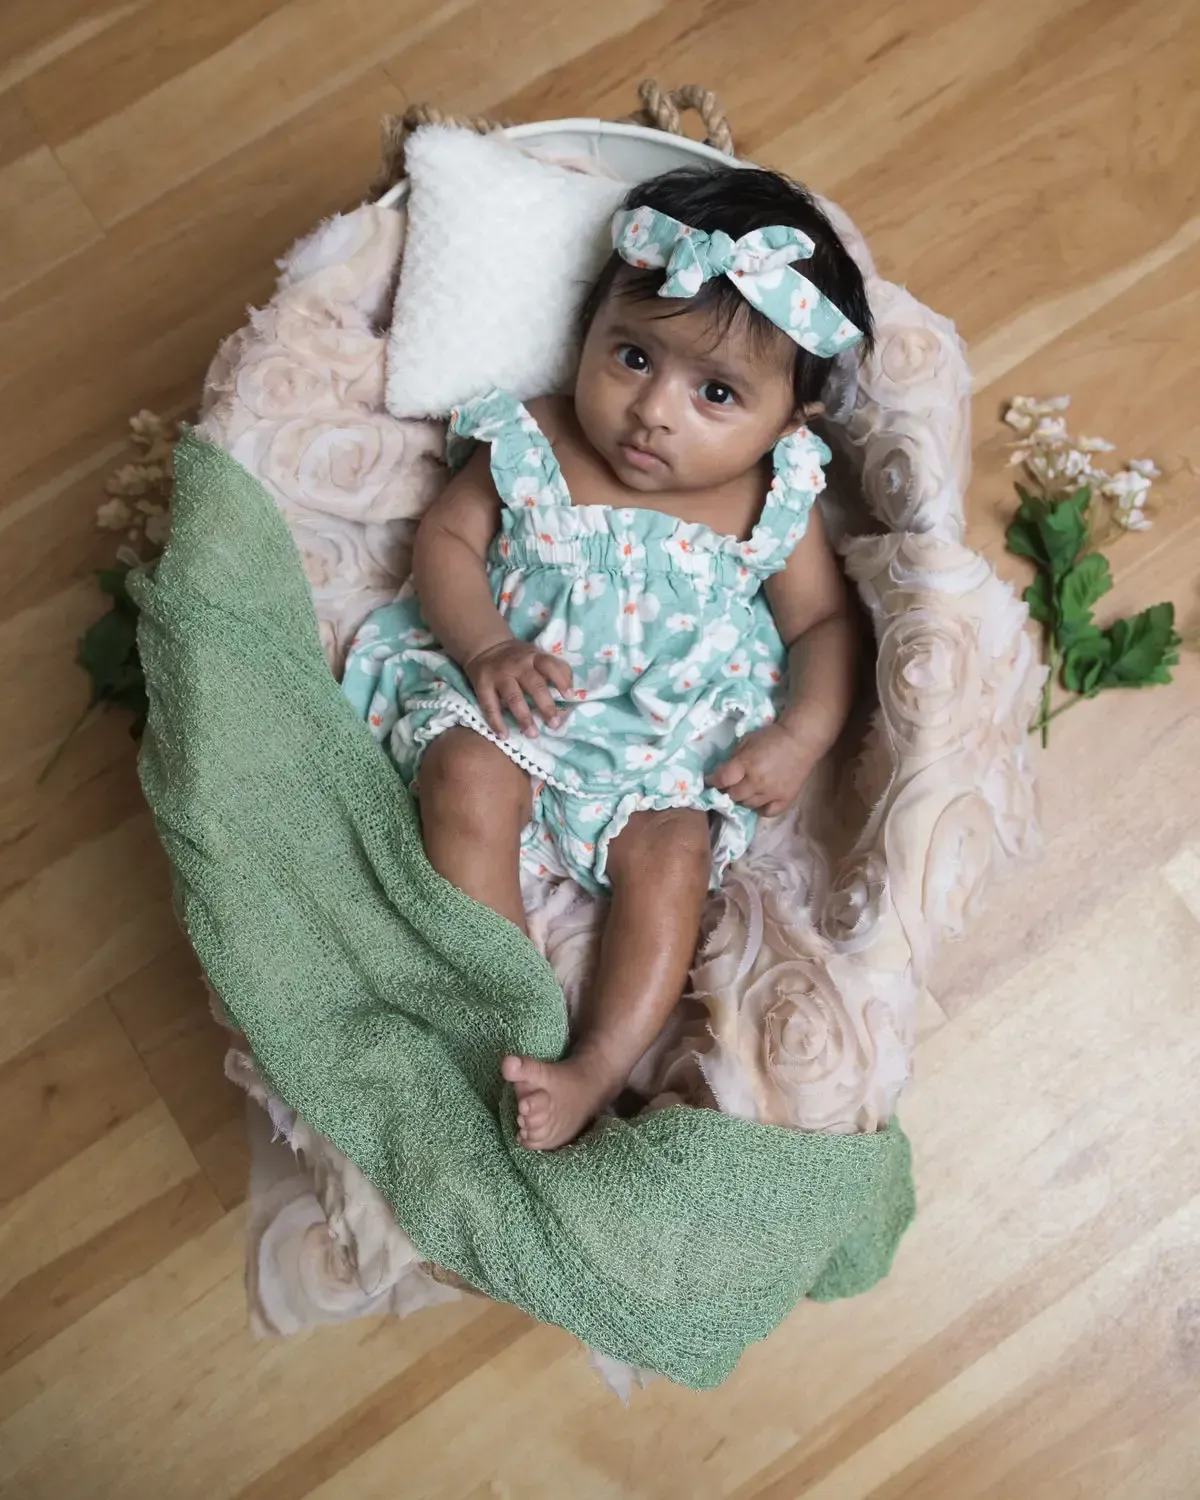
Unleash your creative spirit as you navigate through the delightful realm of poses, props, and angles. Let your imagination take the lead—envision your newborn nestled in a cozy nest of blankets, gently cradled within a basket that whispers of dreams and fairy tales, or swaddled in soft fabrics that speak of warmth and protection.
Many people like a Moses basket shot, breastfeeding image, and images that detail how small your little one is. Of course, you want images of the baby’s feet, mouth, eyelashes etc. Add any others that are meaningful to your heritage and family.
Challenge yourself to view these scenes from every conceivable angle, discovering fresh perspectives that breathe life into each frame. Shoot at the baby's eye level, from above, the sides. You can shoot through house plants or from the door jam for that third person viewpoint feel. You can shoot into a mirror if you have one.
Incorporate your hands to introduce a scale of tenderness, a visual testament to the bond that ties your hearts together. As you compose these scenes, remember, it's the harmony between comfort and creativity that will illuminate the inherent beauty of your subject.
Safety remains paramount; let it be the compass that guides your artistic journey, ensuring every pose not only captures the imagination but cradles your newborn in security and love. Charge forward, armed with ingenuity and a keen eye for detail, and watch as your photos transform into a mosaic of unforgettable moments.
Step 7
Editing - The Final Touch of Magic
You can use Lightroom Mobile You can also do a search for Lightroom Mobile Newborn Presets if you want to have a bit more control. You will probably notice that newborn skin is not the prettiest. You can keep it as it is, or you may want to edit all the images.
Unleash the alchemist within as you venture into the transformative realm of editing, where your photographs transition from captured moments to ethereal memories. Here, your creative instincts reign supreme, wielding tools that subtly enhance the luminescence of your baby's skin, the sparkle in their eyes, the tender ambiance of your staged canvas. Adjustments should be thoughtful, a mere whisper that elevates without altering the soulful essence captured by your lens.
Delve into the nuances of exposure, the dance of contrasts, the harmony of colors - each adjustment a deliberate stroke on the canvas of your baby's early days.
Let each edit be a testament to the love and meticulous care poured into every photograph, refining without erasing, enhancing without transforming. This is not just editing; it's the art of perfecting moments, ensuring the legacy of your newborn's first chapters is preserved in its purest, most radiant form.
Step 8
Sharing and Preserving - The Joy Multiplied
Embark on the final phase of your DIY Newborn Photos journey—sharing and preserving your memories. This is where the magic of your hard work unfolds into a legacy, turning moments into monuments of your family's love story. Imagine the delight and warmth spreading through your family as you unveil the gallery of your baby's first days.
Each photograph, a chapter of an unfolding narrative, now ready to be shared, brings the experience full circle. Create captivating photo albums that become heirlooms, craft heartfelt birth announcements that tell a story, or weave your images into the digital tapestry of social media, inviting the world into your joy.
This act of sharing is not just about displaying photographs; it's an invitation into the heart of your journey, a celebration magnified with every view, like and comment. Your commitment has now crystallized into a beacon of love, a testament to the journey embarked upon with heart and lens.
New Paragraph