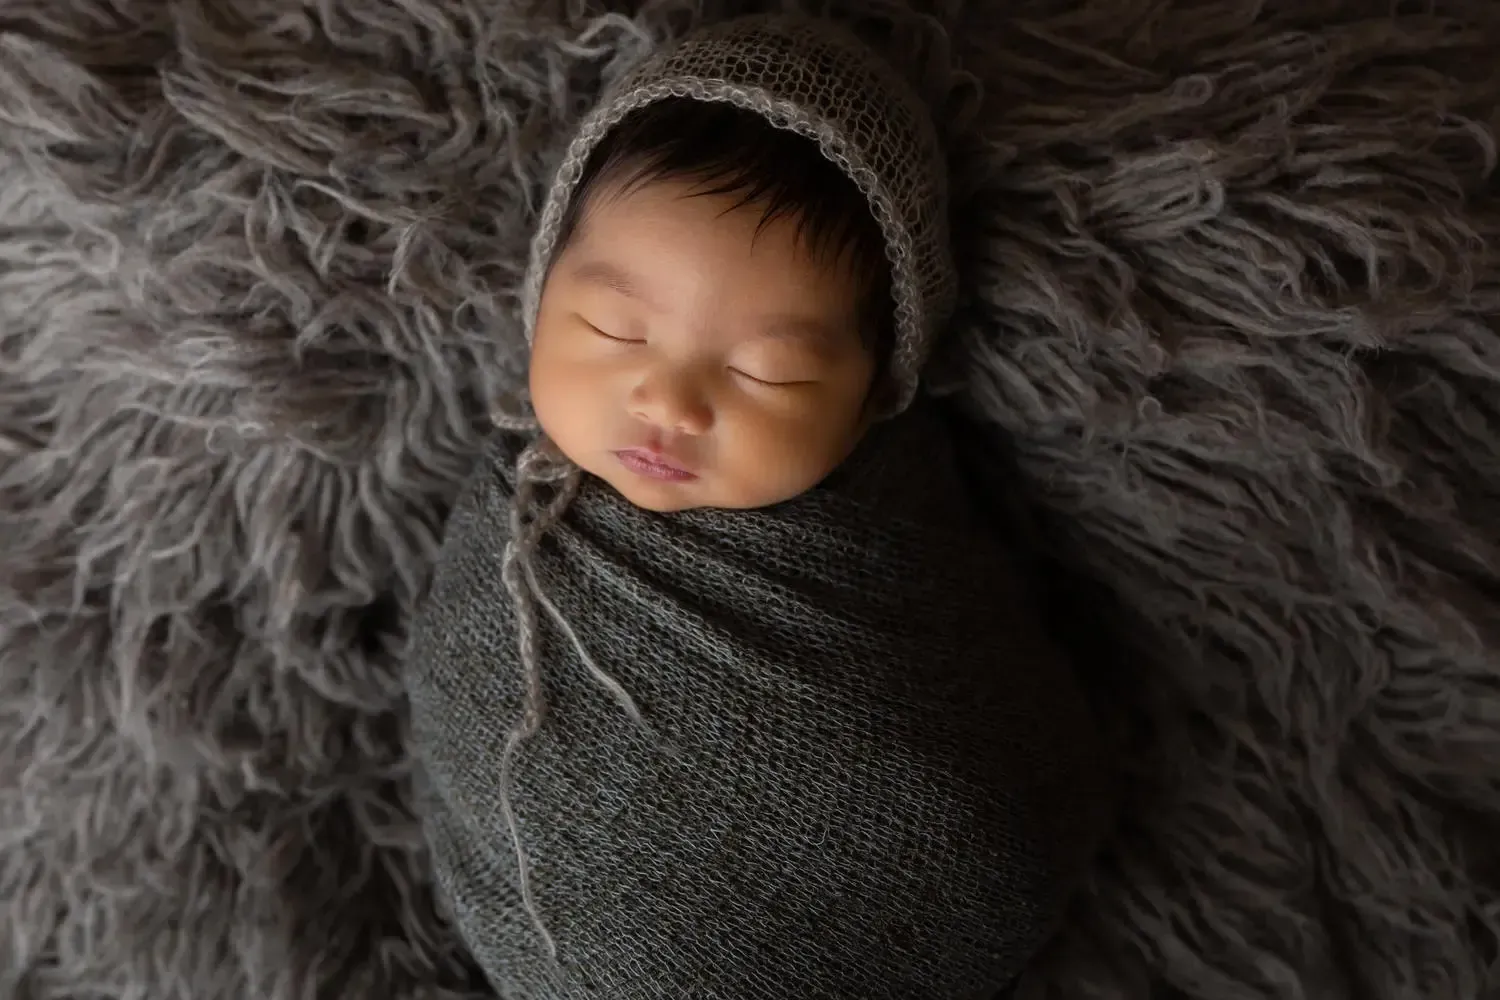
How To Edit Out Newborn Skin Imperfections in Photoshop
How To Use Frequency Separation To Retouch Your Photos

Retouching portraits in Photoshop has become a common practice in the world of photography and digital art. With the endless possibilities and tools available in this software, it has become the go-to platform for enhancing and perfecting portraits. However, with so many options and techniques to choose from, it can be overwhelming and time-consuming to figure out the best way to retouch in Photoshop. In this blog post, we will guide you through the step-by-step process of retouching portraits in Photoshop, so you can bid farewell to imperfections and create flawless portraits in no time.
Evaluate and Mark Up Your Photo:
Before diving into the nitty-gritty of retouching your portrait photo, it's important to take a step back and evaluate it as a whole. This means looking at the composition, lighting, and any obvious imperfections that may need to be addressed. Once you have a general idea of what needs to be fixed, it's time to mark up your photo.
Grab your favorite pen or pencil and circle the areas of the photo that you want to retouch. This could include blemishes, wrinkles, stray hairs, or anything else that detracts from the overall look of the photo. By marking up your photo beforehand, you'll have a clear roadmap for your retouching process and won't miss any important details.
But don't stop there! Take a moment to envision the final result and think about what you want your photo to convey. Do you want it to have a soft and dreamy feel, or a bold and vibrant look? This will influence the tools and techniques you use during the retouching process, so it's important to have a clear vision in mind.
Remember, retouching a photo is a creative process, so don't be afraid to experiment and try new things. By starting with a clear plan and vision, you'll be well on your way to creating a stunning portrait photo that you'll be proud to show off.
Start with Global Adjustments in Lightroom:
Now that you have marked up your photo and have a clear vision in mind, it's time to start retouching. But before jumping into Photoshop, it's important to start with global adjustments in Lightroom. This will allow you to make broad changes to your photo's color, exposure, and contrast before moving onto more specific edits.
Start by opening your photo in Lightroom and navigate to the Develop module. From there, you can use the Basic panel to adjust the exposure, contrast, highlights, and shadows of your photo. This will help bring out details in your photo that may have been lost due to poor lighting or overexposure.
Next, move onto the Color panel to adjust the white balance and saturation of your photo. This will help bring out the natural colors of your subject and give your photo a more vibrant look.
Don't forget to play around with the Tone Curve and HSL/Color panel to fine-tune your adjustments and get the look you want. Remember, these global adjustments are just the starting point, so don't be afraid to experiment and try new things.
Once you're happy with your global adjustments, it's time to move onto more specific edits in Photoshop. But starting in Lightroom will give you a solid foundation to work with and make your final result even better. So go ahead, start playing around with those sliders and see how your photo can transform before your very eyes! And don't forget to sync photos if you want the same global changes to a whole lot of them at once.
The Power of Healing and Cloning in Photoshop:
Now that you've made global adjustments to your portrait photo in Lightroom, it's time to dive into the specifics in Photoshop. One of the most powerful tools at your disposal is the new Remove Tool, Healing Brush and Clone Stamp. These tools allow you to remove blemishes, wrinkles, and other imperfections from your subject's skin.
But it's not just about removing imperfections - it's about doing so in a way that looks natural and doesn't leave behind any obvious traces of retouching. This is where the Remove Tool, Healing Brush and Clone Stamp come in. With these tools, you can seamlessly blend in the retouched areas with the rest of the photo, creating a flawless look that doesn't appear overly edited.
To use these tools effectively, start by selecting either the Healing Brush or Clone Stamp tool. Then, choose a sample area that you want to clone from, such as an adjacent patch of skin that matches the area you want to retouch. Use the tool to blend the sampled area into the retouched area, using a light touch and making small, incremental adjustments.
Remember, the key to successful retouching is subtlety. You want to enhance your subject's natural beauty, not create an unrealistic or artificial look. So take your time, experiment with different settings, and always zoom out to check your progress and make sure you're on the right track.
By using the Healing Brush and Clone Stamp tools effectively, you can remove imperfections and create a smoother, more even skin tone for your subject. And when used in conjunction with other retouching techniques, such as Frequency Separation and Dodge and Burn, you can create a truly stunning portrait photo that showcases your subject in the best possible light.
Using Frequency Separation for Smoother Skin:
Are you looking for a more advanced technique to achieve smoother skin in your portrait photos? Look no further than Frequency Separation. A great tutorial on this can be found by Aaron Nace at Phlearn. This technique allows you to separate the texture and color information of your photo onto two separate layers, making it easier to retouch each element separately.
If you don't want to pay or join anywhere to get a frequency separation action, I will share how I do mine.
- Open Photoshop and the file you want to work on.
- Click ACTIONS, then the 3 lines and be sure "button mode" is UNchecked. (You cannot record and action if button mode is on)
- Click the 3 lines again, and click New Action and name it FS and click RECORD. (Now photoshop will remember everything you do until you stop recording)
- Highlight the layer of your file
- Hit Command or CTL +J
- Hit Command or CTL +J again (now you have 2 duplicate layers)
- Name one layer "LOW"
- Name the other Layer "HIGH"
- On the LOW layer: go to FILTER - NOISE- Dust and Scratches- 15 pixel radius
- On the HIGH layer: Image-Apply Image- Layer=low, Blending= Subtract, Scale = 2, Offset= 128
- Click OK and set blend mode of HIGH later to LINEAR LIGHT
- Place HIGH and LOW Layers Into A Group. (Highlight each layer and click the folder icon)
- SHIFT CTL or COMMAND N to make a new layer
- Set Blend Mode of new layer to OVERLAY then tick the box ("fill with overlay neutral color 50% grey)
- rename this layer to DodgeBurn
- Add a Black and White Adjustment Layer (move reds way down to overemphasize flaws)
- Now, go to the group and click on the HIGH layer. Use healing brush or Clone Stamp and remove flaws.
- Click on LOW layer. Use Lasso tool to select a dark or shadowy area. Go to filter, blur, gaussian blur about 20-35 until the shadows lighten in the areas you want.
- DODGE and BURN layer. Select Dodge tool (exposure 3% for midtones) paint away dark areas
- That's It.
But be careful not to overdo it - too much retouching can make your subject look artificial or plastic. Use a light touch and make subtle adjustments until you achieve the desired level of smoothness.
Frequency Separation can be a powerful tool in your retouching arsenal, but it does take some practice to master. Don't be discouraged if your first attempts don't turn out perfectly - keep experimenting and trying new things until you find the right balance. With time and patience, you can create stunning portrait photos that showcase your subject's natural beauty.
Don't Forget the Eyes and Teeth:
When it comes to portrait photography, the eyes and teeth can make all the difference. They're often the focal point of the photo and can convey a lot of emotion and personality. So don't forget to pay attention to these details when retouching your portrait photos.
Start by zooming in on the eyes and teeth and evaluating them closely. Do they look dull or yellowed? Are there any obvious imperfections or discolorations? If so, it's time to bring out the big guns.
For teeth, use the Lasso tool to select the teeth you want to whiten. Then, use the Hue/Saturation adjustment layer to increase the saturation of the yellows and decrease the saturation of the reds. This will give your subject's teeth a brighter, whiter look without looking fake or overdone.
When it comes to the eyes, there are a few things to keep in mind. First, you'll want to make sure they're well-lit and catch the light in a natural way. You can achieve this by using the Dodge tool to brighten the whites of the eyes and the Burn tool to darken the iris slightly. This will give the eyes more depth and dimension.
Next, you'll want to enhance the color of the eyes. Use the Hue/Saturation adjustment layer to increase the saturation of the blues or greens in the eyes, making them pop even more. Don't overdo it, though - you want the eyes to look natural and not cartoonish.
By paying attention to the eyes and teeth, you can take your portrait photos to the next level and create a truly stunning result. So don't forget to zoom in and give these details the attention they deserve!
Final Touches and Exporting:
Congratulations! You've made it through the retouching process and have created a beautiful, flawless portrait photo. But before you hit that export button, there are a few final touches you should consider.
First, take a step back and evaluate your photo as a whole. Does it convey the mood and emotion you were aiming for? Is there anything that seems off or out of place? If so, make any final adjustments to your global and specific edits until you're happy with the overall result
.
Next, consider adding some finishing touches to really make your photo stand out. This could include adding a vignette to draw the viewer's attention to the subject, or using a texture overlay to add depth and dimension to the photo. Don't be afraid to get creative and experiment with different effects until you achieve the desired look.
Once you're happy with your final result, it's time to export your photo. Consider the final use of the photo - will it be printed or shared online? Make sure to export at the appropriate resolution and file type for the intended use.
And don't forget to save your work! You never know when you might want to revisit and make further edits to your photo in the future.
Retouching portrait photos can be a rewarding and satisfying process, but it does take time and practice to master.
With the tips and techniques outlined in this blog post, you'll be well on your way to creating stunning portrait photos that showcase your subject's natural beauty. So grab your camera and start shooting - the possibilities are endless!
New Paragraph